# 06-VuePress与Github Pages搭配完成线上站点
# 整体思路
Github 创建项目,本地创建切换到 docs 分支,通过 VuePress 构建文档项目(写一些文档),上传至 Github。
Travis CI 自动 clone 后安装依赖、编译、上传至 Github master 分支。
通过 GitHub Pages 功能将 master 分支上的内容展示在 Web 上。
相关资料:
- 我的文档看下效果:codexu.github.io/ (opens new window)
- 我的文档源码:github.com/codexu/code… (opens new window)
- VuePress中文文档(1.x):v1.vuepress.vuejs.org/zh/ (opens new window)
- Travis CI:travis-ci.org (opens new window)
# VuePress构建文档项目
使用 VuePress 初始化项目,只说几点,官方文档 (opens new window)写的十分详细。
- 依赖安装在 devDependencies。
- package.json script 写运行和打包脚本,"serve": "vuepress dev docs","build": "vuepress build docs"。(这里按照自己习惯,后面做持续集成要用)
- 创建 docs 文件夹,把所有 markdown 文档存放在这里。
- docs/.vuepress/config.js 可以做大量配置。
# VuePress部署之前的准备
- 文档放置在项目的
docs目录中; - 使用的是默认的构建输出位置;
- VuePress 以本地依赖的形式被安装到你的项目中,并且配置了如下的 npm scripts:
{
  "scripts": {
    "docs:build": "vuepress build docs"
  }
}
2
3
4
5
项目下的package.json 文件中的完整配置如下:
{
  "name": "vuepress",
  "version": "1.0.0",
  "description": "学习笔记记录",
  "main": "index.js",
  "scripts": {
    "docs:dev": "vuepress dev docs",
    "docs:build": "vuepress build docs",
    "d": "bash deploy.sh",
    "test": "echo \"Error: no test specified\" && exit 1"
  },
  "keywords": [],
  "author": "",
  "license": "ISC",
  "devDependencies": {
    "vuepress": "^0.14.11"
  }
}
2
3
4
5
6
7
8
9
10
11
12
13
14
15
16
17
18
# GitHub上进行站点的搭建
# GitHub上创建仓库
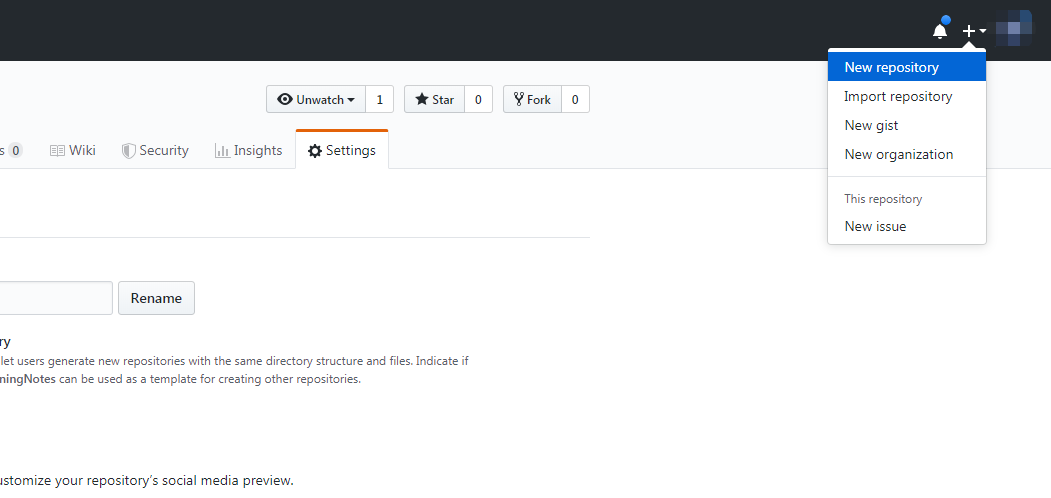
登录GitHub (opens new window)后,在页面右上角的加号中找到“New repository”按钮,创建一个新的仓库,而且仓库的名字为: [name].github.io,例如我的文档是learnnote.github.io。
(注意:我们写入的名字要以github.io做后缀,不然创建出来的不是GitHub Pages)
为什么用 [name].github.io ? 因为在这个项目下,可以直接使用 https://[name].github.io/ 域名,简洁易记。
进入到创建仓库页面,按照步骤创建,最后点击按钮完成仓库的创建。

# 将GitHub上仓库克隆到本地
选择本地存放Github项目的文件目录, 然后在该目录下使用以下命令行将仓库clone到本地:
git clone https://github.com/zhengxiaochuan/learnnote.github.io.git
然后根据VuePress的用法,自行去写一些文档,做一下简单的配置,先别急着提交到 Github。
# GitHub Pages
在
docs/.vuepress/config.js中设置正确的base。如果你打算发布到
https://.github.io/,则可以省略这一步,因为base默认即是"/"。如果你打算发布到
https://.github.io//(也就是说你的仓库在https://github.com//),则将base设置为"//"。在你的项目中,创建一个如下的
deploy.sh文件(请自行判断去掉高亮行的注释):
#!/usr/bin/env sh

# 确保脚本抛出遇到的错误
set -e

# 生成静态文件
npm run docs:build

# 进入生成的文件夹
cd docs/.vuepress/dist

# 如果是发布到自定义域名
# echo 'www.example.com' > CNAME

git init
git add -A
git commit -m 'deploy'

# 如果发布到 https://<USERNAME>.github.io
# git push -f git@github.com:<USERNAME>/<USERNAME>.github.io.git master

# 如果发布到 https://<USERNAME>.github.io/<REPO>
# git push -f git@github.com:<USERNAME>/<REPO>.git master:gh-pages

cd -
2
3
4
5
6
7
8
9
10
11
12
13
14
15
16
17
18
19
20
21
22
23
24
25
提示
你可以在你的持续集成的设置中,设置在每次 push 代码时自动运行上述脚本。
# GitHub Pages and Travis CI
在
docs/.vuepress/config.js中设置正确的base。如果你打算发布到
https://.github.io/,则可以省略这一步,因为base默认即是"/"。如果你打算发布到
https://.github.io//(也就是说你的仓库在https://github.com//),则将base设置为"//"。在项目的根目录创建一个名为
.travis.yml的文件;在本地执行
npm install并且在提交中包含package-lock.json因为npm ci需要它才能正确执行.使用 GitHub Pages 部署提供程序模板并遵循 Travis 文档 (opens new window)。
language: node_js
node_js:
  - lts/*
install:
  - npm ci
script:
  - npm run docs:build
deploy:
  provider: pages
  skip-cleanup: true
  local_dir: docs/.vuepress/dist
  github-token: $GITHUB_TOKEN # a token generated on github allowing travis to push code on you repository
  keep-history: true
  on:
    branch: master
2
3
4
5
6
7
8
9
10
11
12
13
14
15
# 通过 Travis CI 做自动化打包及部署
- 在根目录下创建
.travis.yml文件,并写入一些内容:
language: node_js
node_js:
    - 10
cache: yarn
install:
    - yarn
script:
    - yarn build
after_success:
    - cd docs/.vuepress/dist
    - git init
    - git config --global user.name "${U_NAME}"
    - git config --global user.email "${U_EMAIL}"
    - git add -A
    - git commit -m 'deploy'
    - git push --quiet --force "https://${GH_TOKEN}@${GH_REF}" master:${P_BRANCH}
2
3
4
5
6
7
8
9
10
11
12
13
14
15
16
- language: 语言选择 node_js,我们前端还有的选吗?
- node_js: node版本,这块也许是越高越快?
- cache: yarn 缓存,能使你构建速度更快...吧。
- install: 安装依赖的包管理工具,使用 yarn 比 npm 快的多。
- script: 一切就绪之后通过 yarn install 安装依赖。
- after_success: 安装结束后,我们做一些打包和 push 到 Github 的指令。
- 环境变量
"${***}"这块后面会提到。
- 这时候可以 push 到 Github 了,因为没有
.travis.ymlTravis CI 是不会理你的项目的,同时将默认分支改为 docs。
- Github 增加一个 Personal access tokens,位置在 Settings / Developer settings (opens new window)。
- Note 随意填,填 travis-ci 就行。
- 除了 delete_repo 权限都打勾就行。
- 进入 Travis CI (opens new window),使用 Github 登录, 进入 dashboard (opens new window),此时应该可以看到你刚创建的项目。
5.启动进入这个项目,右上角 More options 点击 setting,配置环境变量。
- GH_REF: 项目地址(github.com/[name]/[name].github.io.git)注意去掉
https://。 - GH_TOKEN: tocken 是通过上面第三步拿到的。
- P_BRANCH: 要上传的分支,这里我们要传到 master。
- U_EMAIL: 你的 Github 邮箱。
- U_NAME: 你的 Github 用户名。